Search

bits4bots

Electrical components online retailer.

Author

Bits4Bots LLC

We source electronic components, educational gadgets and gifts. Customize your next small project with our PCB design services. Visit http://www.bits4bots.shop for tutorials and project ideas.

Make It Real Honorable Mention Awards – Part 2

Tinkercad Blog

The Autodesk Make It Real challenge is a way for us to help cultivate and recognize the amazing learning happening through making. This Wednesday morning, we’ll announce the four Grand Prize winners of the Make It Real challenge. But first, we’re highlighting the many Honorable Mention award winners. We were so moved by the spirit showed by these schools and their students, that we simply had to recognize them and their efforts.

Each of these Honorable Mention award winners will receive 10 Chromebook computers for their school to help continue sparking curiosity and creativity.

This is the second of two posts listing the Honorable Mention award winners. If you haven’t already, be sure to catch up on the previously announced winners, and don’t miss tomorrow’s announcement of the four Grand Prize winning schools.

Joseph P Tynan Elementary School
Boston, Massachusetts

Students at Joseph P Tynan Elementary School inspired us…

View original post 203 more words

Nice tutorial.

Electrical & Computer Engineering Projects

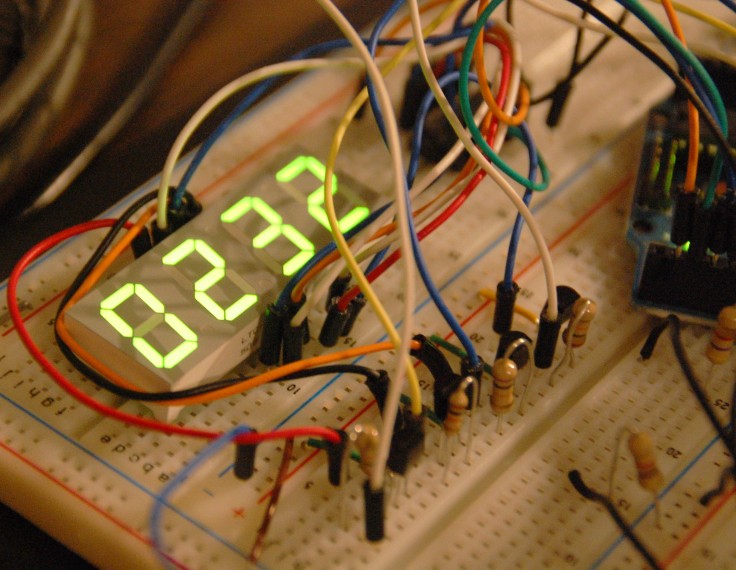
4 digit 7 segment display

This is a project I’ve been playing with for awhile. I bought a few seven segment displays at Jameco.com awhile ago to use in Arduino projects. Using a single 7 seg display was pretty straightforward. You can either control each of the segments with your Arduino, or use a BCD decoder and use four Arduino pins to control the seven segments.

Then I examined my four digit seven segment display and was surprised to see that it had only a few pins. I was expecting at least 9 per digit! Intro the concept of multiplexing. Multiplexing, in a nutshell, means doing one task for a short period of time, then doing another task for a short period of time, then doing another…etc. In other words, multiplexing means cycling through and completing only one input at a time. For the four digit seven segment display, this means cycling through the digits…

View original post 643 more words

CARDBOARD PROJECT BOX VIA LASER CUTTER

Laser cut cardboard
Laser cut cardboard

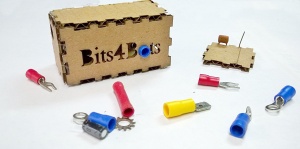
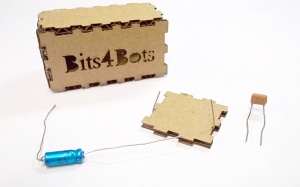
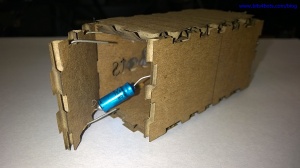
Build a project box out of cardboard. Designed in MakerCase and laser printed on scrap cardboard this cool 6x2x6 cm box makes a nice enclosure for a project.
After printing the design via Full Spectrum Laser Printer, hot glue all but one side. This will help with stability and keep the box secure. The unglued side will serve as access to the circuit inside. This box can house leds, 8W speakers, electrolytic mic, pcb boards, etc.

WP_20151009_011 Cardboard Casing Laser Cut

By making use of the spaces between the layers of cardboard, tiny components like resistors and capacitors can slide through the layer and connect wires or parts.

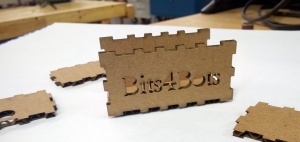
Adding an image or name to the box and really help it stand out. Choosing multiple color for box using colored poster board is an option.  This is meant to be an indoor project. Trying to mod podge the pieces could be a success! Which ever you choose just find unique ways to use this housing and share it with a friend!

More in the next project…blinking leds, switches, & buzzers. Be sure to visit us again soon.

Before you go check out more cool projects. 

Case a project with cardboard cube.

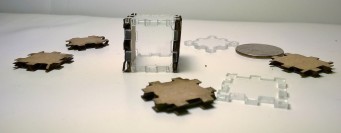
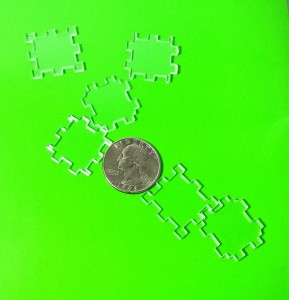
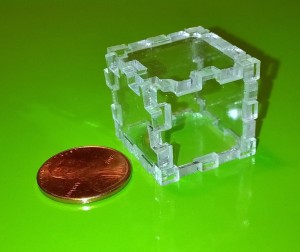
Acrylic Laser Cut Cubes

Mini Clear Cube
Mini Clear Cube

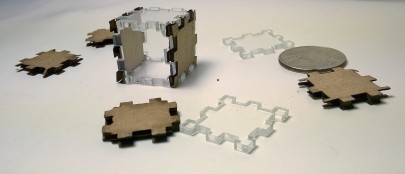
Want to make a cube or boxed casing for a project? So did I. This is how I made it:

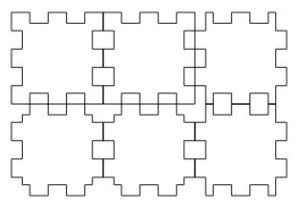
First having access to a laser cutter is essential. However, a Silhouette Curio may be the next best thing. I was able to use a Full Spectrum laser printer. The pattern I used was generated using MakerCase. MakerCase is a software specifically designed for easy laser cut casing.

Design specs in MakerCase

  • Units: Inches
  • Dimensions: 1x1x1
  • Material Thickness: 1/8
  • Edge Joints: Finger

Next I generated the laser cut case plans. Mini Cube Pattern

*Converting from one one format to the other may be necessary.

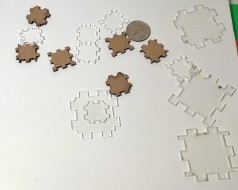
A test cut was done on cardboard before I proceeded with the acrylic.

1 Inch Laser Cut CubeAcrylic CubeAcrylic Cube PatternMini Acrylic Cube

New YouTube Videos

Every Sunday you can expect a new video. Topics like HP 50g and Multisim just for engineering students.

via Blogger http://ift.tt/1zAuP3a

Breadboards & Kits

Get your supplies to build your own circuits.

Coming soon!

Paper Circuits|Cardstock, laser printer & reactive foil

Let’s see how to make (art or a working) paper circuitPaper circuits are common and easy to make. I used a basic laminator, cardstock, and reactive foil.

Black cardstock

  • Choose a basic circuit schematic or art design you like. 
  • Next you will need to print your work using a laser printer using black ink. The heat reactive foil technology will adhere to this type of ink. 
  • After you have printed your work on card stock you will now be able to send it through the laminator. Simply cut the foil to match the card stock. 
  • Place the foil paper on top of the card stock
  • Send both pieces through the laminator. 

Optional (to make a working circuit try laying copper tape or conductive thread on top of printed traces) Conductive thread is an innovative thread which carries electricity and completes electrical circuits. Made from Stainless Steel fiber (SS316L). This thread will not pass through a sewing machine needle and must be used in the bobbin, or couched, or by hand.

Click here for video: https://www.youtube.com

Here’s what I used:

*HP LaserJet Pro Printer
*Scotch Laminator 3mm or 5mm setting
*Black card stock

Featured post

New YouTube Videos

Every Sunday you can expect a new video. Topics like HP 50g and Multisim just for engineering students.

via Blogger http://ift.tt/1zAuP3a

New YouTube Videos

Every Sunday you can expect a new video. Topics like HP 50g and Multisim just for engineering students.

via Blogger http://ift.tt/1zAuP3a

Create a free website or blog at WordPress.com.

Up ↑